Hi folks 👋, Hope you are doing well.
Do you know about the latest feature that Github released few months back, that let’s you show Beautiful and Dynamic profile with just a simple README.md file. If not, then you should totally check this out, it’s Super Cooool 🔥.
In this blog, we are going to create a profile readme that will look something like this in the end,
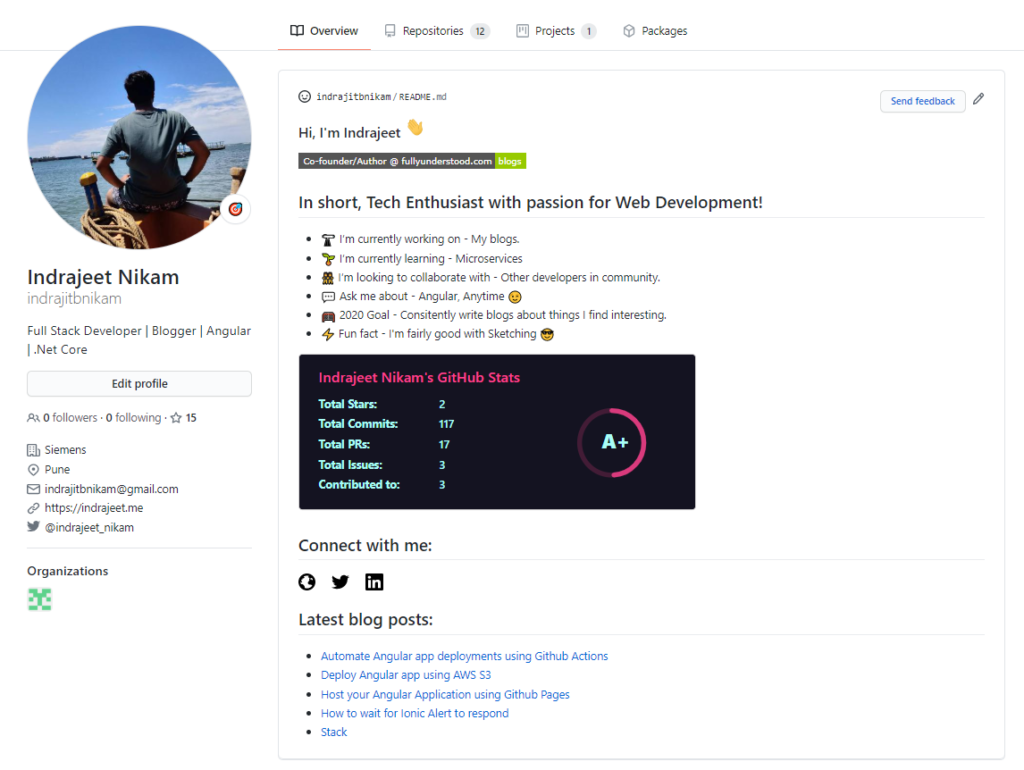
Interesting right, let’s get started then.
Prerequisite
None 😉
Steps
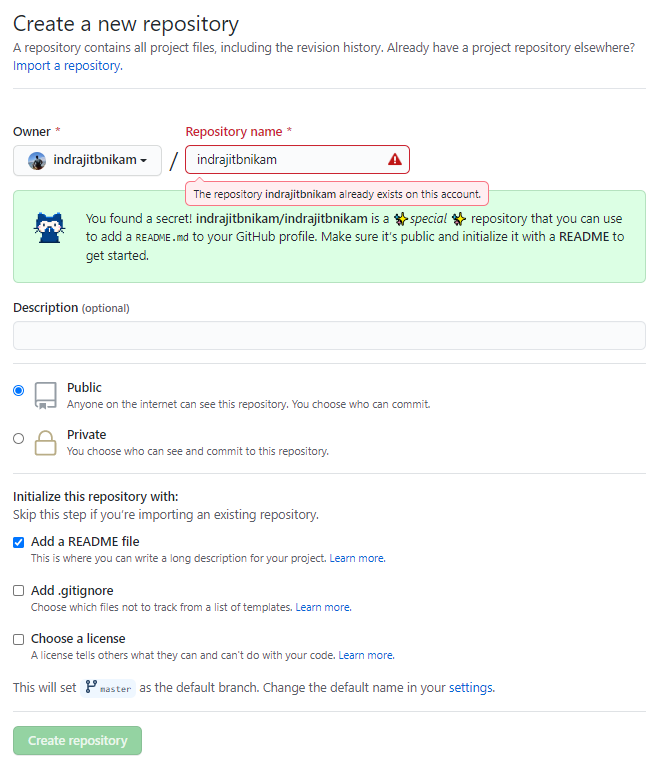
1. Create a repository with same name as your github username. Check add README file option. I am getting error because I already have the repository, you will not see below error.
2. You can either clone this repo and change it locally or you can edit it in github itself. I’ll be editing it in Github just to reduce unnecessary steps.
3. Click on edit button for README.md file and paste below content for starters,
### Hi, I'm Anonymous <img src="https://media.giphy.com/media/hvRJCLFzcasrR4ia7z/giphy.gif" width="25px"> [](https://google.com) ## Your short description - 🔭 I’m currently working on - ❔❔❔❔ - 🌱 I’m currently learning - ❔❔❔❔ - 👯 I’m looking to collaborate with - ❔❔❔❔ - 💬 Ask me about - ❔❔❔❔ - 🥅 2020 Goal - ❔❔❔❔ - ⚡ Fun fact - ❔❔❔❔ <!-- ❔❔❔❔ means username in below README.md --> <!-- Also feel free to update second URL to any URL --> [](https://google.com) ## Connect with me: [<img align="left" alt="codeSTACKr.com" width="22px" src="https://raw.githubusercontent.com/iconic/open-iconic/master/svg/globe.svg" />][website] [<img align="left" alt="codeSTACKr | Twitter" width="22px" src="https://cdn.jsdelivr.net/npm/simple-icons@v3/icons/twitter.svg" />][twitter] [<img align="left" alt="codeSTACKr | LinkedIn" width="22px" src="https://cdn.jsdelivr.net/npm/simple-icons@v3/icons/linkedin.svg" />][linkedin] <br /> <!-- Optional if you have blogs --> ## Latest blog posts: <!-- BLOG-POST-LIST:START --> <!-- BLOG-POST-LIST:END --> <!-- This section you create this variables that are used above --> [website]: https://google.com [twitter]: https://twitter.com/indrajeet_nikam [linkedin]: https://www.linkedin.com/in/indrajeet-nikam-3737a8101/
4. Feel free to add/edit/remove the Headings and change content in place ❔❔❔❔.
5. Now let’s go over it one by one. In first section, we just have simple greeting and a fancy looking badge to showcase your website. To understand how I created this badge, checkout this page.
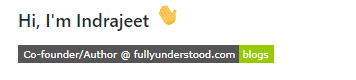
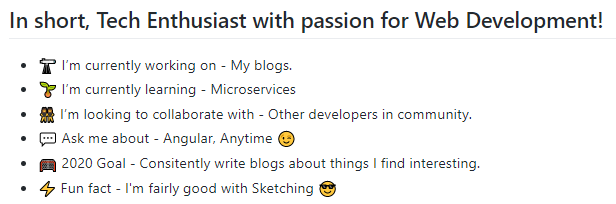
6. In second section, we are talking about myself in some nice bullet points. Again very easy, Create your own or just replace ❔❔❔❔ with your data.
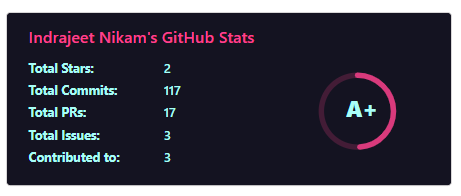
7. Soon after that, at the end of that second section we have a nice Github stats card. This is a coming from a great guy Anurag Hazra’s very popular project github-readme-stats. Checkout this repository there your will find out how to create such beautiful cards which shows your Github Stats.
8. To be specific, I am using this in for my stats, feel free to try more. Mine looks like this.
9. In next section, we are showing bunch of icons that point to our social media profiles. Pretty damn easy just have a look at readme file.

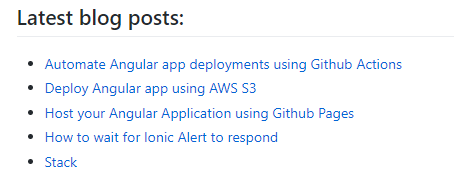
10. Next section is kinda optional, feel free to skip it if you don’t write blogs. This is pretty interesting as we are going to dynamically fetch blog data from our blogging site and populate section of README.md using Github Action.
11. This is coming from yet another great guy Gautam krishna R’s project blog-post-workflow. He has created an Github action that does this magic ⭐. Let’s see how it’s done.
12. Start by adding adding place holder like we have in our README.md file.
13. In your repository create a new workflow, by going into Actions Tab your repository. Save and commit README.md before if necessary. After creating workflow your actions tab should look like this,
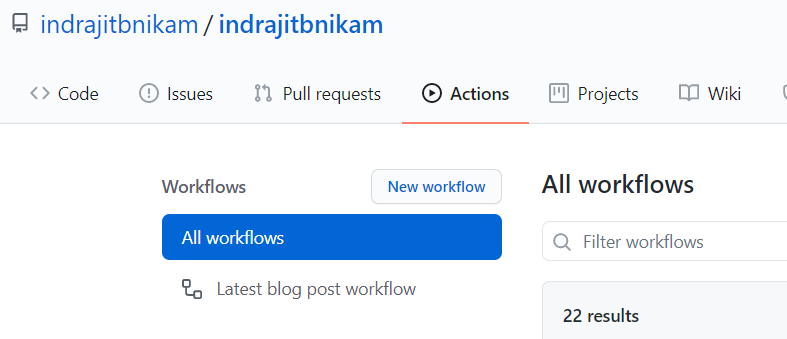
14. Rename this workflow and paste below content. For more info checkout this section,
name: Latest blog post workflow
on:
  schedule: # Run workflow automatically
    - cron: '0 * * * *' # Runs every hour, on the hour
  workflow_dispatch: # Run workflow manually (without waiting for the cron to be called), through the Github Actions Workflow page directly
jobs:
  update-readme-with-blog:
    name: Update this repo's README with latest blog posts
    runs-on: ubuntu-latest
    steps:
      - uses: actions/checkout@v2
      - uses: gautamkrishnar/blog-post-workflow@master
        with:
          feed_list: "https://dev.to/feed/gautamkrishnar,https://www.gautamkrishnar.com/feed/"
15. Change the feed_list value to your feed and start the workflow manually from Actions tab shown in above image. You don’t need change a single apart from that. For more options visit this section.
16. Last section simply contains the variables that are being used all over the places.
17. Now commit the changes and go to your profile.
Voila!! we have just created a beautiful profile readme 😉🥳🥳🥳.
If you need some reference for this README.md file checkout my repo. You can also checkout some quite awesome README files here for more inspiration 😉.
Hope you liked this blog, feel free to share it if you do.
For more such content click here.
Take care, and keep learning 😎✌